How Do I Add a Custom Image as My Background Image?
Select one of your own images as the background image for your website pages:
- Navigate to your website page to add the custom image.
- On the main toolbar, click the Settings drop-down arrow.
- Select the Site Settings option.
- Click the page area that you want to apply the background image:
- Page
- Header
- Body
- Footer
- Note: If you select the Header or Footer settings, the background image will be repeated for each of your website pages in these areas.
-
Click the Background Image tab.
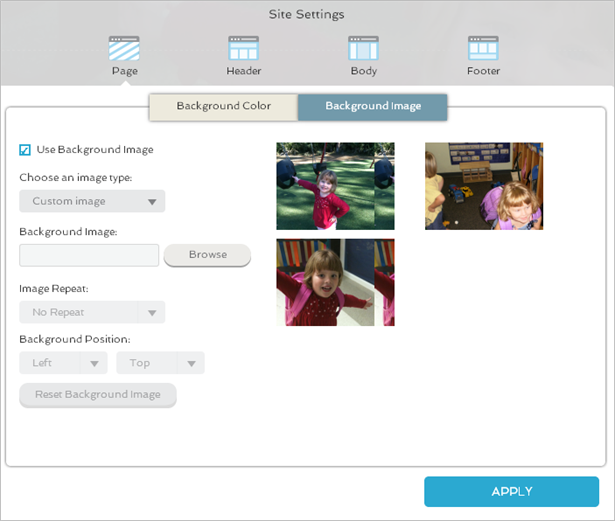
- Click the Use Background Image check box.
- Under Choose an image type, click the drop-down arrow and select Custom image.
- Click the Browse button to select your custom image.
- Depending on the image size, you can have the image repeat to fill the area that you selected. Under Image Repeat, click the drop-down arrow, and select either:
- No Repeat
- Repeat
- Under Background Position, click the drop-down arrows to place the image on the website page.
- To select another image, either:
- Click the Reset Background Image button.
- Click the Remove button next to the image name.
- Click the Apply button.
- Note: If your background image does not display correctly, the image may not be the right size. For the best results, we recommend a background image size at least 1366 pixels wide and 1200 pixels in height.
The custom image of the selected area has been applied to your website page.